

Fresh air, new sights and the freedom to explore: scooting can turn an ordinary trip to the park into a little adventure. But if you’re wondering how to teach a toddler to ride a scooter, you may also be thinking: Will they be safe? What if they lose their balance? Do we have to start with a two-wheel scooter?
The good news is that teaching a toddler to scoot does not need to feel rushed or complicated. With the right first scooter, proper safety gear and short, playful practice sessions, your child can gradually build balance, coordination and confidence.
Here’s a simple step-by-step guide for getting started in 2026.
Choose the right first scooter
A good first scooter should feel stable, comfortable and easy for small hands to control. For most toddlers, that means choosing a three-wheel scooter rather than a traditional two-wheel model.
Three-wheel scooters offer:
- Extra stability for developing balance
- A wider base for little feet
- Lean-to-steer movement that supports coordination
- A slower, more manageable learning curve
- Plenty of confidence-building practice
A ride-on-to-scooter design can be especially helpful if your child is not ready to stand and glide straight away. Instead of expecting them to master everything on day one, you can begin with sitting, pushing and steering before progressing to standing.
The Scoot and Ride Highway Kick 1 - Forest is a popular 2-in-1 option for children aged approximately 1–5. It changes from a ride-on to a stand-up scooter without tools and includes three wheels, a non-slip footpad, front rollover protection and a rear brake. It is currently £84.99, reduced from £94.99.
The Mini Micro Deluxe LED in Blue is another strong choice for children aged around 2–5. Its adjustable handlebar, lean-to-steer design, grippy footplate and battery-free light-up wheels make it a fun option for a child who is ready to stand. It is currently £84.95, reduced from £89.95.
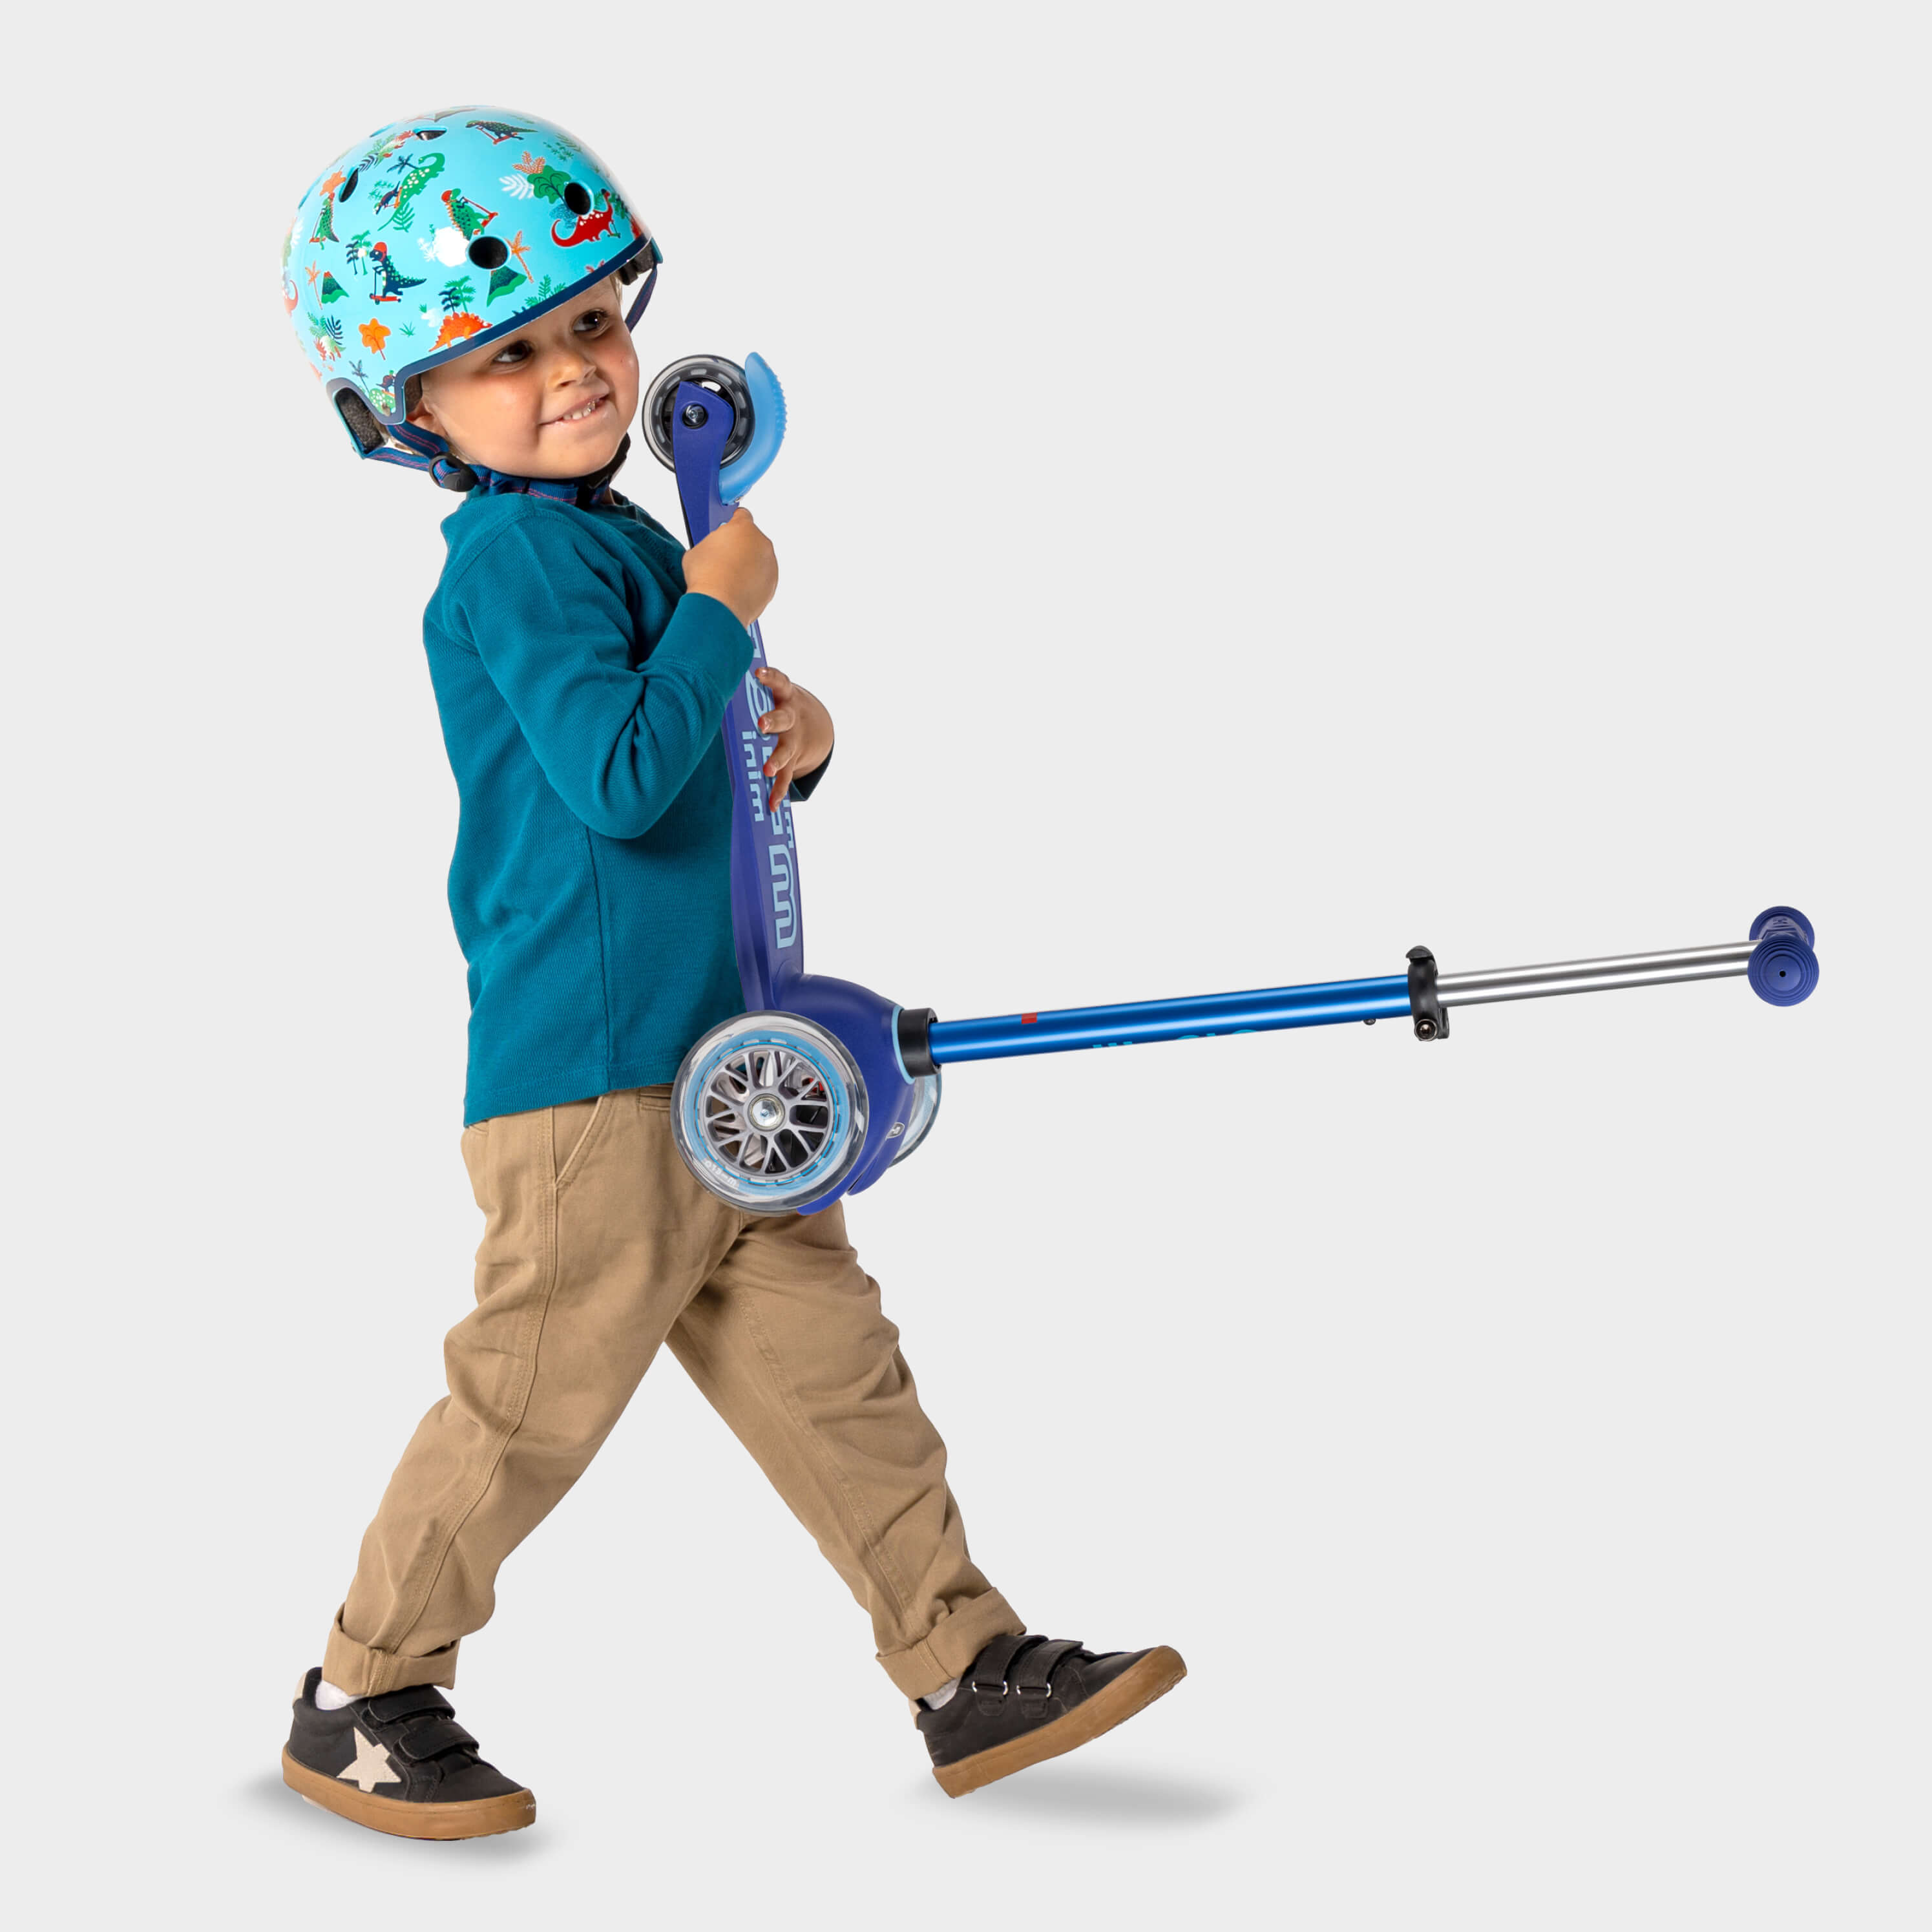
Safety first: prepare before the first ride
Before teaching your toddler to scoot, make safety part of the routine. Children learn quickly when the same simple steps happen before every ride:
“Helmet on, shoes on, scooter check, then scoot.”
Your child should wear:
- A properly fitted cycle or scooter helmet
- Knee and elbow pads, particularly during early practice
- Closed-toe trainers with good grip
- Comfortable clothing that cannot catch in the wheels
The Scoot and Ride Lifestyle Printed Helmet - Green Lines costs £38.21 and includes adjustable sizing, soft internal padding, a magnetic buckle and a rear LED light for added visibility. The XXS–S size fits head circumferences of approximately 45–51 cm, but always measure your child and follow the manufacturer’s fitting advice.

Before each session, check that:
- The wheels are secure and roll smoothly
- The handlebars are firmly in place
- The brake works correctly
- Any adjustable or folding parts are locked
- The footplate is clean and dry
Remember: no helmet means no scooting. Keep the rule calm and consistent.
Step 1: Start in a flat, quiet space
For the first few sessions, choose somewhere flat, smooth and traffic-free. A quiet park path, enclosed garden patio or open paved area can work well.
Avoid:
- Steep slopes
- Busy pavements
- Driveways with moving cars
- Steps and kerbs
- Wet leaves, loose gravel and puddles
- Crowded areas where your toddler may need to stop suddenly
Stay close enough to hold the scooter or your child immediately if needed. At this stage, your toddler is learning how the scooter feels, not preparing for a long journey.
Keep practice short. Five or ten positive minutes is often more useful than a long session that ends in frustration.
Step 2: Let your toddler explore the scooter
Before asking your child to ride, give them time to become familiar with their first scooter.
Let them:
- Touch the handlebars and wheels.
- Practise getting on and off.
- Stand on the footplate while you hold the scooter still.
- Sit on a ride-on seat if the scooter has one.
- Push it gently while walking beside it.
Talk through what you are doing using simple phrases such as:
- “Two hands on.”
- “Eyes looking ahead.”
- “One foot pushes.”
- “Slow down to stop.”
There is no need to correct every movement. Your aim is to help your child feel comfortable and curious.
Step 3: Begin in ride-on mode
If you have a 2-in-1 or 3-in-1 scooter, start with the most stable setting. For a ride-on scooter, help your toddler sit securely with both hands on the handlebars and both feet close to the ground.
Encourage them to:
- Push along at walking pace
- Steer towards you
- Stop when they reach a marker
- Turn gently around a soft toy or cone
This stage helps develop steering and spatial awareness without asking your child to balance upright. It can also be reassuring for toddlers who feel nervous about standing.
Once they are confidently sitting, pushing and stopping, you can gradually introduce stand-up scooting.
Step 4: Practise standing and balancing
When your child is ready, place one foot on the deck and keep the other foot on the ground. Hold the handlebars or the back of the scooter while they find their balance.
Try these simple games:
The statue game
Ask your toddler to stand still on the scooter for two seconds, then three seconds. Celebrate each attempt.
Follow the line
Use a chalk line or a seam in the paving and encourage your child to look ahead while travelling slowly along it.
Find the colour
Place coloured cones, chalk circles or soft toys nearby. Ask your child to steer towards a particular colour.
Red light, green light
Say “green light” for a tiny push and “red light” for a stop. This builds listening skills and introduces safe stopping in a playful way.
Three-wheel scooters often steer by leaning gently rather than turning the handlebars sharply. Demonstrate small movements: lean left to go left and lean right to go right.
Step 5: Teach the push-and-glide movement
Now introduce the basic scooting rhythm:
- Place one foot firmly on the deck.
- Keep both hands on the handlebars.
- Push gently with the other foot.
- Bring the pushing foot back to the deck.
- Glide for a short distance.
- Slow down and stop.
Use a memorable phrase such as:
“Push, foot on, eyes ahead.”
At first, your toddler may make tiny pushes or keep one foot on the ground. That is completely normal. Balance develops through repetition, not pressure.
Praise the process rather than the distance:
- “You kept both hands on!”
- “You looked where you were going.”
- “You stopped so carefully.”
- “You tried again after wobbling.”
Common toddler struggles, and what to do
“My child keeps looking at their feet.”
This is common when children are concentrating. Place a toy or sticker ahead of them and encourage them to look towards it. Try saying, “Look at the teddy,” rather than “Don’t look down.”
“They are scared to stand.”
Return to ride-on mode for a few sessions. Let your child stand while you hold the scooter still, then try one tiny glide. Confidence often grows in small steps.
“They push too hard and go too fast.”
Move back to a smaller practice area and focus on stopping games. Teach them to use the rear brake if their scooter has one. Remind them that jumping off a moving scooter is not safe.
“They keep turning sharply.”
Practise going in a straight line between two soft markers. Once they can travel slowly and steadily, introduce wide turns.
“They lose interest quickly.”
Follow their lead. Scooting should be active play, not a test. Pack a snack, explore a new path or finish the session while it is still fun.
When should your child move to a two-wheel scooter?
There is no single perfect age. Look for readiness rather than relying only on a birthday.
Your child may be ready to try a two-wheel scooter when they can:
- Balance confidently on a three-wheel scooter
- Push and glide without constant support
- Steer around wide turns
- Use the brake or stop safely
- Follow simple instructions
- Stay focused on the path ahead
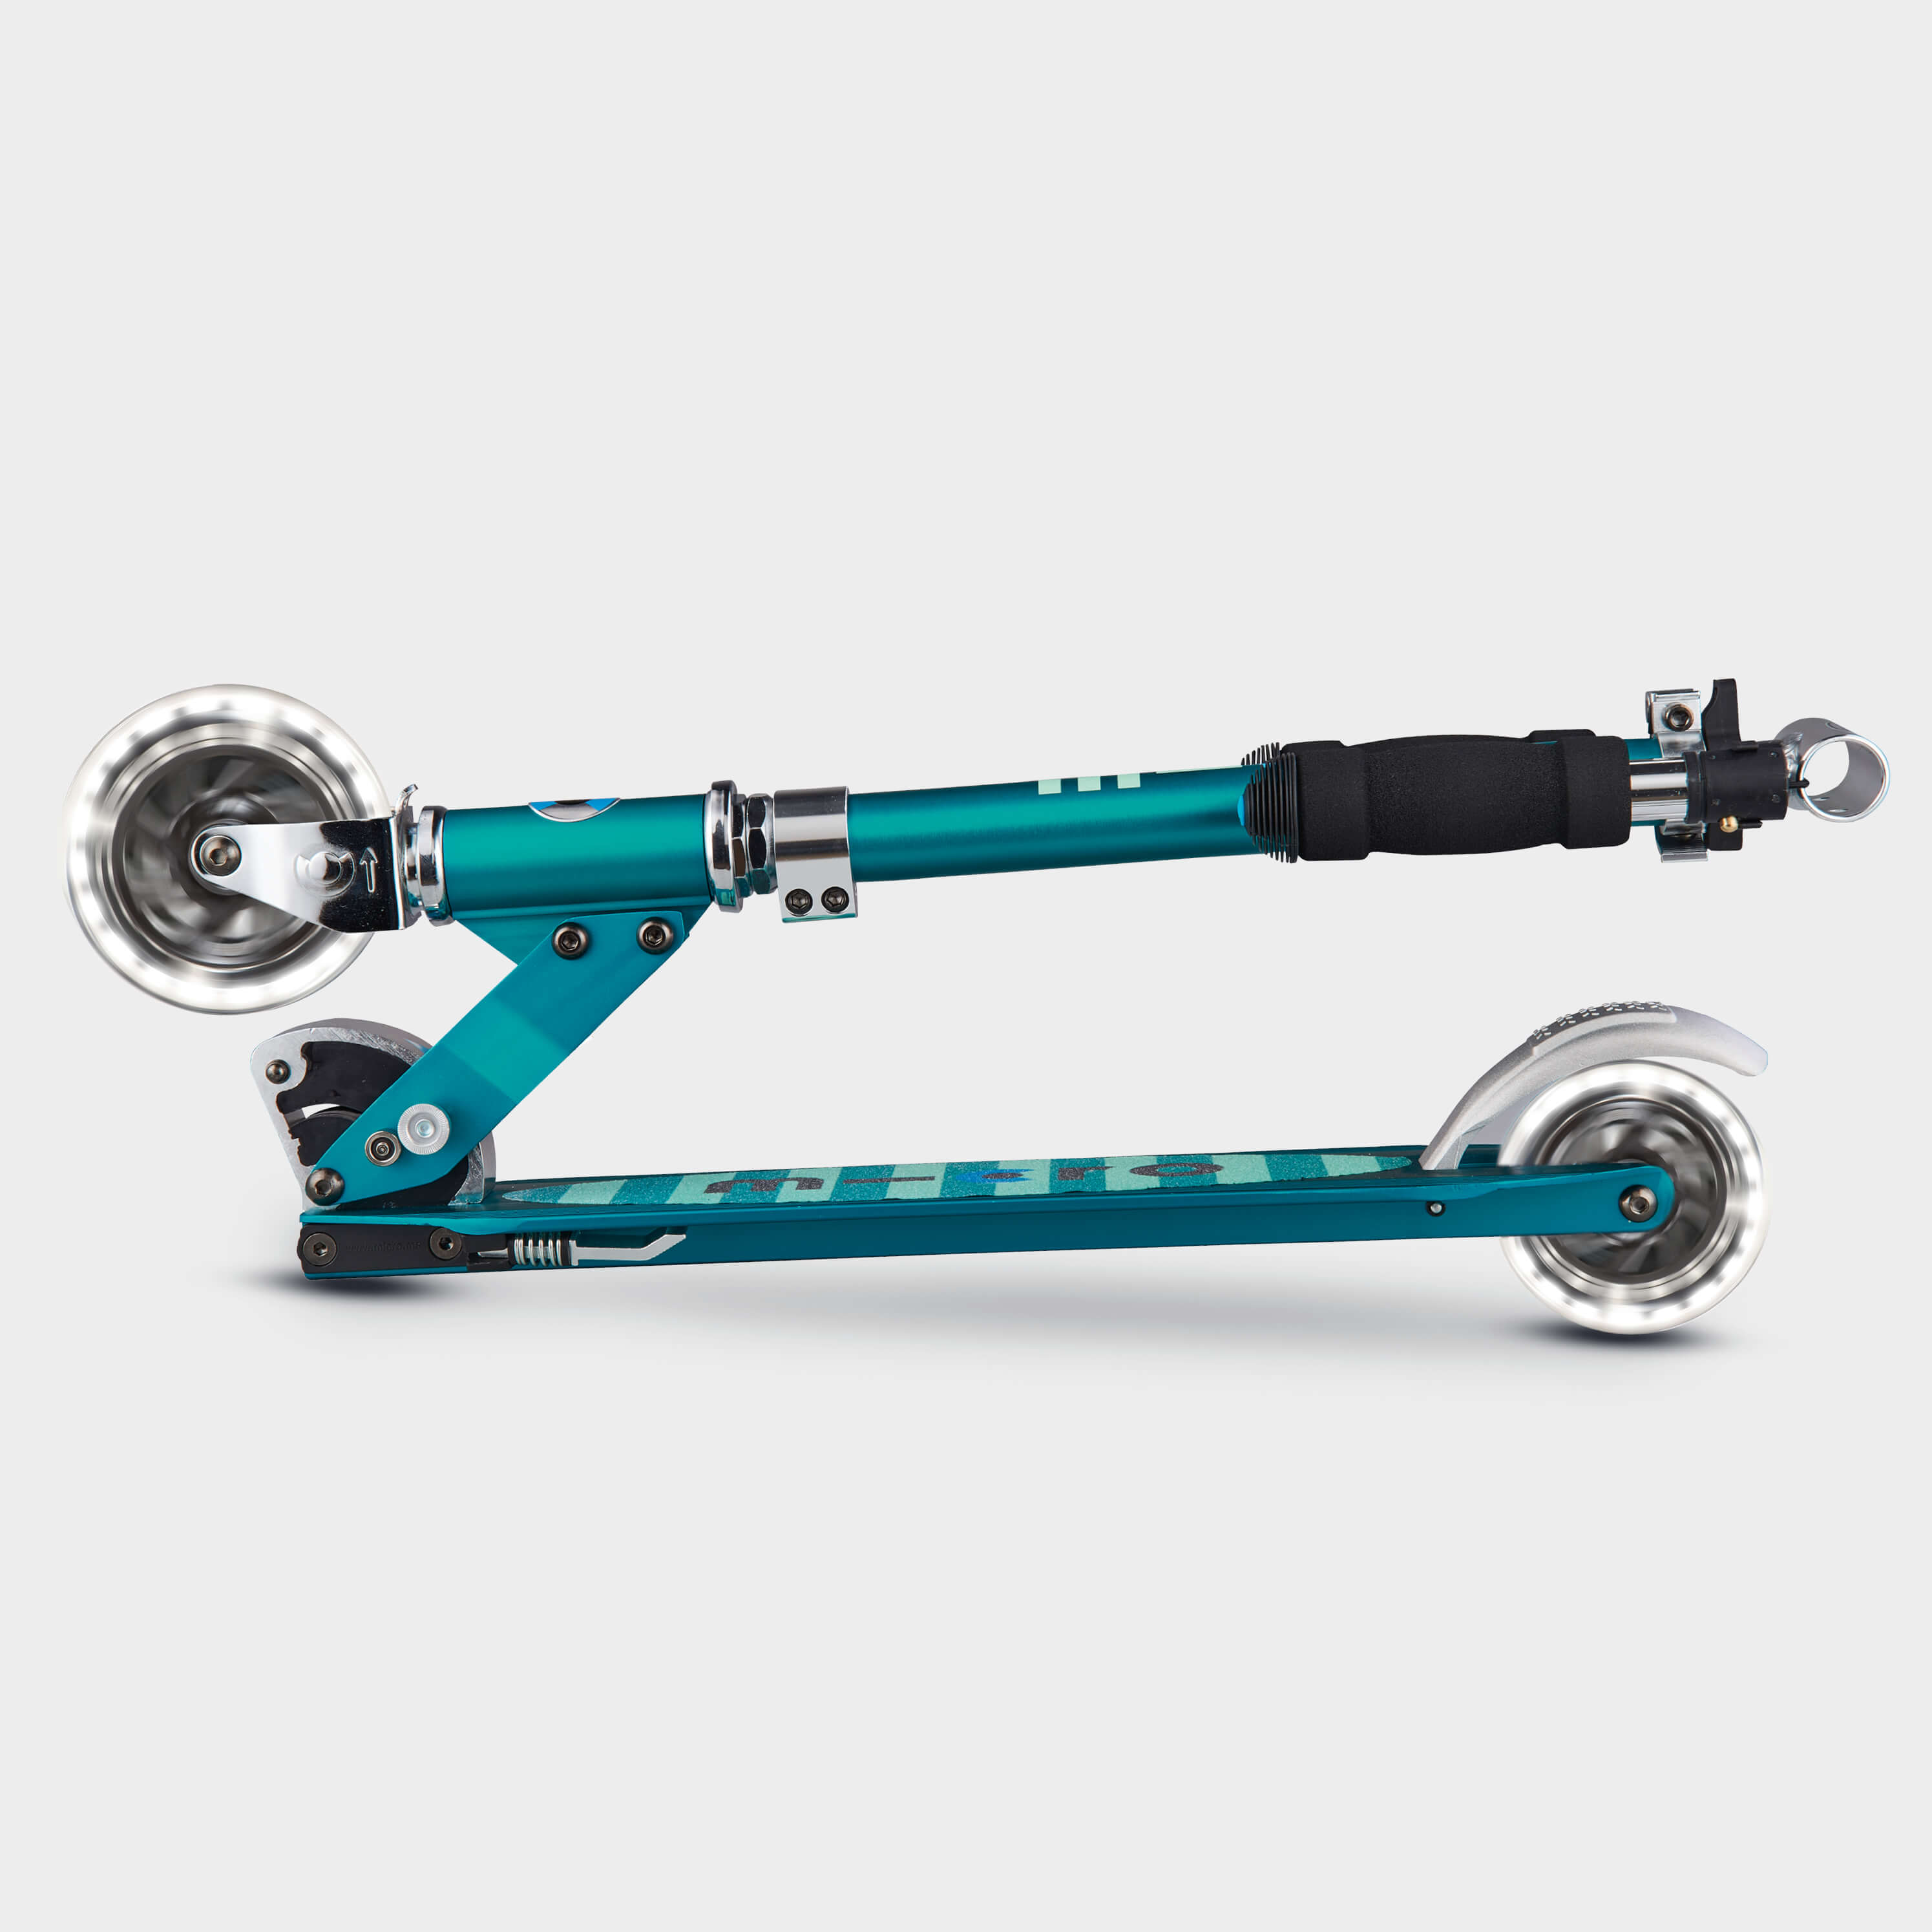
A two-wheel scooter requires more balance and control, so there is no advantage in moving too soon. The Micro Sprite LED is designed for children aged approximately 5–12 and costs £119.95, reduced from £124.95. It has adjustable handlebars, motion-powered LED wheels, a lightweight aluminium frame, a rear brake and a folding design.
UK scooting habits to teach early
Even very young children can learn simple safety rules:
- Ride at walking pace around other people.
- Slow down near dogs, prams and doorways.
- Get off the scooter at kerbs and when crossing roads.
- Walk the scooter across the road rather than riding.
- Keep both hands on the handlebars.
- Never carry bags or toys on the handlebars.
- Stop when a grown-up says stop.
For more child-friendly guidance, read the BBC CBeebies scooter safety tips. You can also browse the Let’s Play Outside scooter collection for more options.
Frequently asked questions
What is the best age to start scooting?
Many children can begin exploring a ride-on scooter from around 1 year, while stand-up scooters are often suitable from around 2 years, depending on the model and your child’s development. Always follow the manufacturer’s age, height and weight guidance.
Should a toddler use a three-wheel or two-wheel scooter?
A three-wheel scooter is usually the better first scooter because it offers greater stability and makes steering easier for developing riders.
Does my toddler need knee and elbow pads?
A helmet is essential, while knee and elbow pads are strongly recommended during the learning stage. They can help protect against minor knocks and make some children feel more confident.
How long does it take to teach a toddler to ride a scooter?
Some toddlers begin gliding within a few short sessions. Others need several weeks of relaxed practice. Keep sessions brief, stay positive and avoid comparing your child with other riders.
Can my child scoot on the pavement?
Scooting on pavements should always be closely supervised. Choose quiet, smooth areas, keep your child away from the road side of the pavement and teach them to dismount before kerbs and road crossings.
Final thoughts
Teaching a toddler to scoot is about much more than learning to move on three wheels. It is an opportunity to build balance, independence and confidence while enjoying fresh air together.
So grab the helmet, choose a safe open space and start with one tiny push. What begins as a wobbly ride around the garden can soon become a cheerful trip to the park, a new daily routine and a collection of family memories.
Go at your child’s pace, celebrate every small improvement and keep safety at the heart of the adventure.


